
How to Conduct a Reef Health Check While Snorkelling
A practical guide to citizen science reef monitoring, covering repeatable survey methods, what to record, how to score coral health, and how to share your findings.
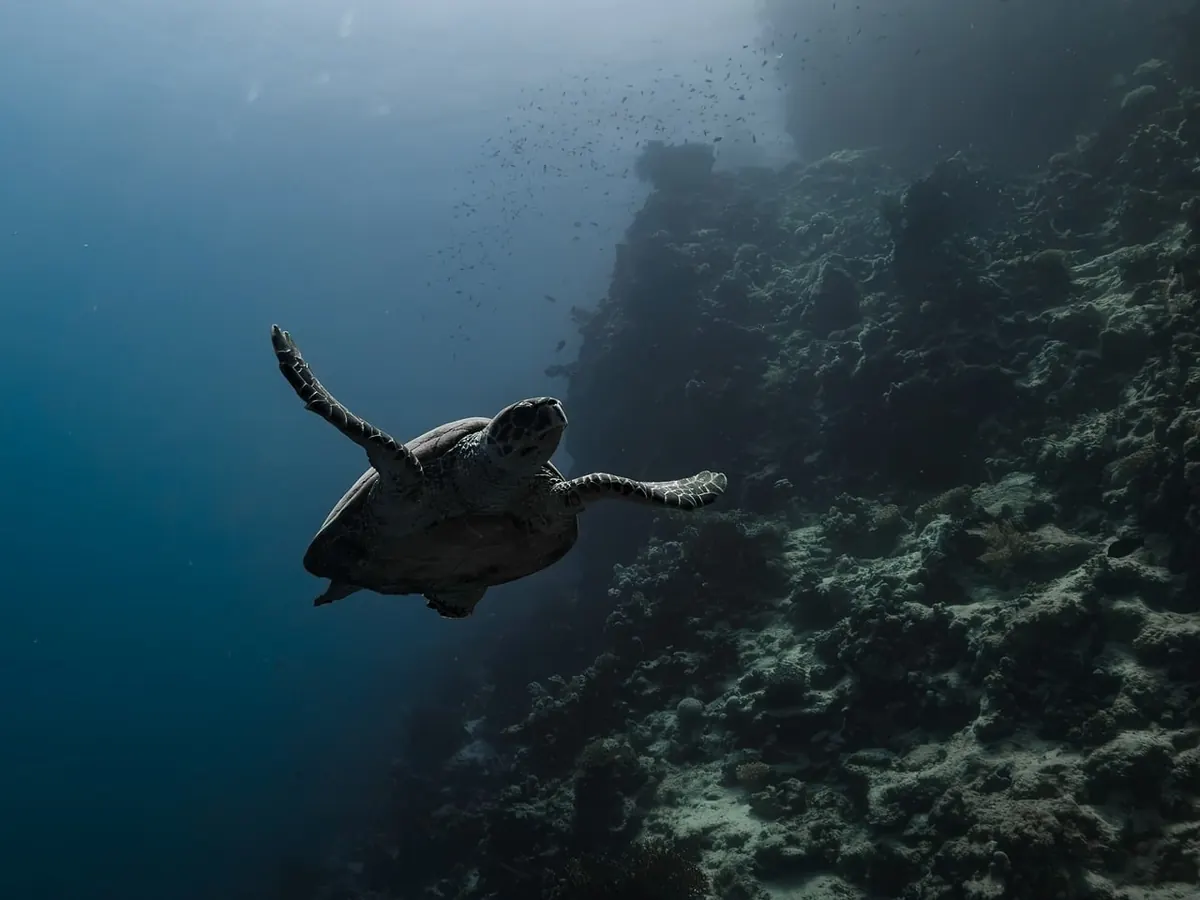
Ten metres of clear water, a mask that finally fits, and a reef spread out below like a map. Most snorkellers spend the first minute hunting for something big — a turtle, a ray, a hawksbill — then settle into cruising, and the reef becomes scenery. That shift, from sightseeing to looking closely, is the whole basis of a reef health check. No marine biology degree required. You need fins you can swim slowly in, a way to write things down, and the discipline to look at the same things, in the same way, in the same place.
Why Snorkellers Make Good Reef Monitors
Monitoring programmes get some of their most valuable records from people who visit the same stretch of coast again and again. Researchers tend to pass through. You do not. You notice that the staghorn on the shallow flat pales every August, that sand has crept two metres further across since the last storm, that the grouper under the third coral head has gone.
A reef health check is not a full ecological survey. It is a structured snapshot: a small set of observations made repeatably, so this month's version can be compared with the last. Consistency beats expertise. A rough count done the same way twenty times tells you far more than a perfect survey done once.
Plan the Swim Before You Get Wet
- Pick a site you can reach safely and often. A sheltered bay with an easy entry beats a spectacular reef you visit twice a year.
- Fix a route. Use landmarks — a mooring buoy, a rocky point, the edge of a seagrass bed. Swim the same line each time.
- Choose a method and stick to it. A timed swim is easiest: twenty minutes at a slow, even pace across the same band of reef. A simple transect is tighter: swim a compass bearing for a set number of fin kicks and record only what lies under you.
- Keep conditions comparable. Tide changes depth; time of day changes light and fish activity. Same tide, similar hour, where you can manage it.
- Check local rules. Some marine protected areas restrict access or ask permission before you use survey equipment. A word with a local dive centre or conservation group usually sorts it out.
What to Take
- Mask, snorkel and fins you can swim slowly in
- Wetsuit or rash vest for warmth and sun cover
- Underwater slate and pencil, or a waterproof notebook
- Camera on a wrist strap, plus something of known size for scale
- Small torch for looking under ledges, if you are comfortable using one
- Water, and a buddy — always a buddy
Keep the kit minimal. Anything dangling is something to catch on coral. Clip it down or leave it ashore.
Six Things Worth Recording
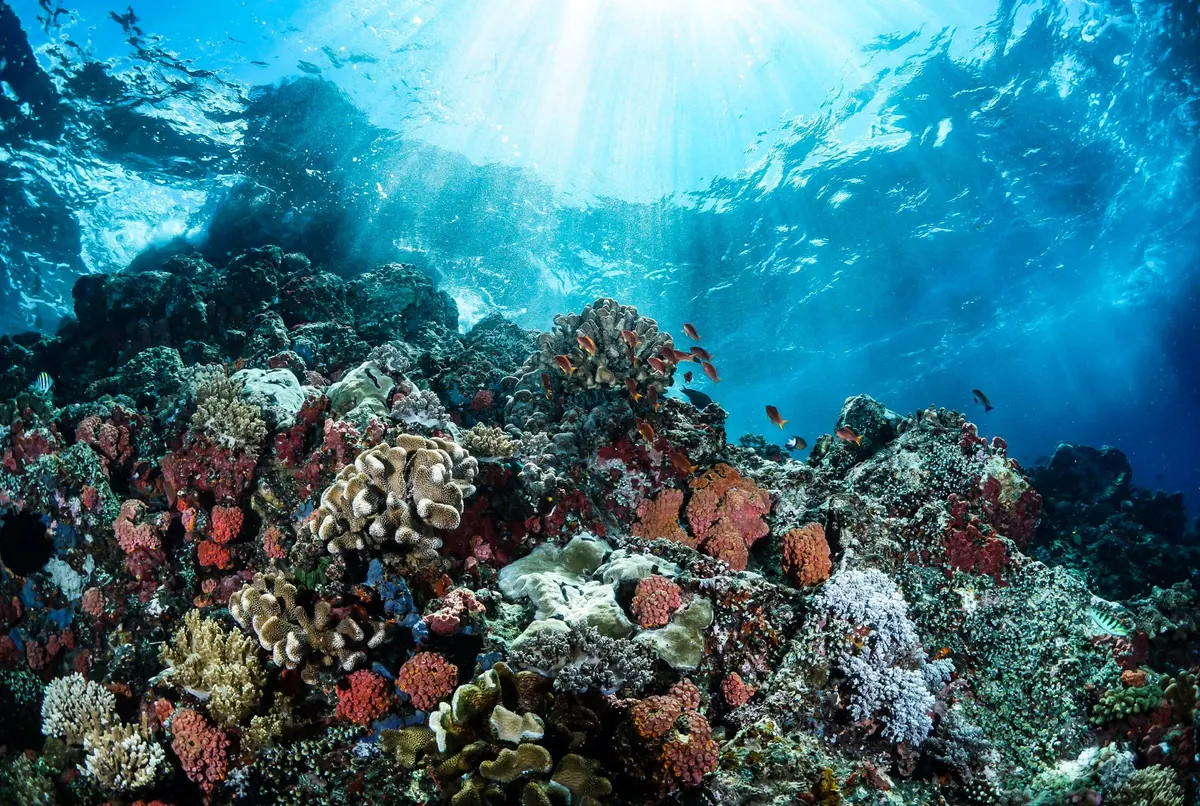
- Coral colour. Colonies that look pale or white against their usual brown, green or purple are the clearest visible sign of heat stress. Note how many, and roughly where.
- Live coral cover. How much of the seabed under your route is living hard coral, rather than algae, rubble, sand or sponge?
- Algae. Turf and fleshy macroalgae. A shift from coral towards algae is one of the most common responses to stress, poor water quality or overfishing.
- Rubble and broken coral. Fresh white fragments usually mean recent damage — a storm, an anchor, a careless fin.
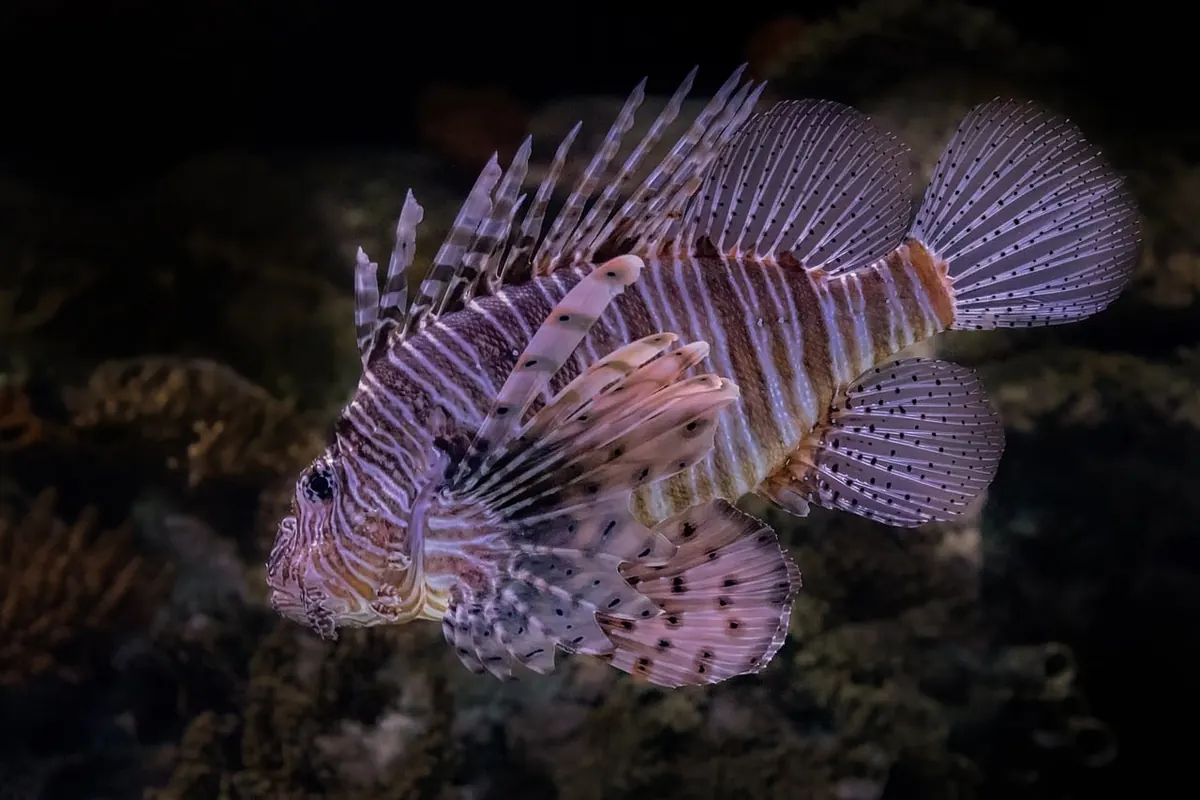
- Fish. Count a short list of easy groups: parrotfish, surgeonfish, butterflyfish, groupers, snappers, plus any large predators. You do not need species-level accuracy to notice that one group has thinned out.
- Signs of trouble. Anchor scars, tangled line, plastic, unusual white bands or dark patches on coral and, in the Indo-Pacific, crown-of-thorns starfish. Photograph and record; do not touch or remove.
How to Score What You See
Coral colour
The simplest version: examine the first ten hard coral colonies along your route and grade each one as normal, pale or white. CoralWatch publishes a colour card and free datasheet designed for snorkellers, which makes the grading far less subjective than guesswork.
Cover in rough bands
Precise percentages underwater are unreliable. Use bands instead: none, 0–10, 10–30, 30–50, 50–75, 75–100 per cent. One band for live hard coral, one for algae, one for rubble and sand. Repeat them every visit.
Fish in two passes
Swim the route once, slowly, counting only the obvious groups. Do not chase anything to identify it. If you see something you cannot name, describe it: size, shape, colour, behaviour, depth. "Pale grey, two dark diagonal bars, hovering over branching coral at about four metres" is a genuinely useful record.
Record It So It Is Actually Useful
Fill in the same fields every time: date, time, site name and landmarks, GPS or a clear description of where you entered, tide and sea state, visibility, water temperature if you carry a thermometer, who surveyed, which method you used, your counts or bands, and any notes on unusual events.
Then share it. CoralWatch accepts colour scores from snorkellers directly. Reef Check and similar programmes coordinate volunteer surveys in many regions. iNaturalist takes photographs and helps with identification, and national recording schemes such as Seasearch collect observations from UK and Irish waters. Local reef projects are often the most grateful of all.
Even if you never submit a single record, keep the sheets. A folder per site, in date order, becomes a small archive. Photographs taken from the same angle at the same state of tide do a lot of quiet work over a couple of years.
Safety, Etiquette and Being a Good Witness
Staying inside your limits matters more than any dataset. Go with a buddy, check the forecast and the currents, and stay within the sheltered area you planned. If you are using scuba, do it under proper training. If long hours in the sun are a concern, or you take medication that affects sun sensitivity, ask a pharmacist or doctor before making it a weekly habit.
In the water, float rather than stand. Never rest a hand, knee or fin on coral, keep a body's length from the reef where you can, and let fish come to you rather than swimming after them. An accurate survey carried out by someone with good buoyancy is worth ten carried out by someone scuffing the reef.
Your First Reef Check
- Walk the entry and note conditions on shore — wind, tide, visibility, anything washing in.
- Swim the route once slowly, just looking, so you know what is there.
- Swim it again, recording as you go. Stop often; slow is accurate.
- Take three photographs along the route, one of them with your scale object in frame.
- Fill in the datasheet on shore within the hour, while your memory is fresh.
- Diarise the next visit — monthly, same tide, same route.
A reef check takes about forty-five minutes. Do it once and you have had a nice swim. Do it for a year and you have a record of a place: the kind of steady, unglamorous observation that local conservation groups and researchers genuinely need, and that nobody else is going to collect for you.
Photo: DJB_Images / Pixabay